Working Together with Custom Workflow Views

Taking an idea from conception to implementation is hard work. No one just comes up with an idea and bam! With the snap of your fingers it’s suddenly done. I wish, right?
To help you build transparency across your organization, ProdPad allows you to set up your own custom workflows so you can keep everyone up to date.
Based on your product workflow, you can assign and change the state and stage of an Idea, allowing you to track the idea through its completion. Whether you change the status manually or through an integration (automation magic!) – your entire team can keep track of what’s going on.
Creating your own custom workflows
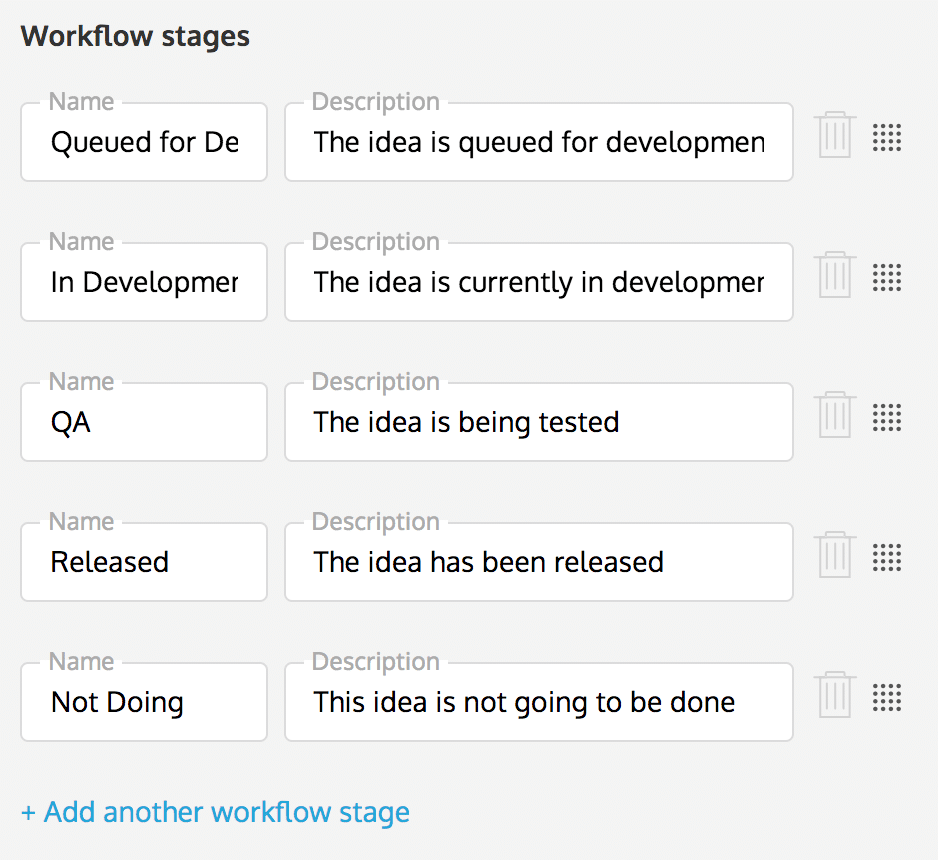
Head over to the company settings and under “Workflow” edit your stages.
To create a new status, fill out the form under “+.” You can rearrange your workflows in the correct order using the drag/drop handle.
If you need a little inspiration, we recommend the following setup:
- New idea (default)
- In Review – Indicates you are reviewing/validating the idea.
- Needs More Info – Indicates the idea requires more information/is being spec’d out.
- Approved for Development – Indicates the idea has been approved for development.
- Queued for Dev – The idea has been sent to the dev team and is being prepared for a sprint.
- In Development/In Progress – The idea is with the dev team and is being worked on.
- QA – The idea is being QA’d.
- Released – The idea has been released.
- Not Doing – The idea won’t be done.
- Duplicate – There is a duplicate in the system.
- Failed Experiment – The experiment failed.
Creating a custom workflow view
This is where the magic happens.
Once you have created your own custom workflows, you can create your own custom view with a few preselected workflows.
This means you can preselect workflows and only see the ones that fit your needs.
For example, if you only needed 5 of 10 workflows created for one team, but another team needs 8 of the 10, each team would have the ability to create their own custom view.
To do so, begin by viewing your filters and selecting all the workflows for your custom view. Once you’ve selected your workflows, create a saved filter. You will be able to share this saved filter with other users.